

I am SO SO excited to have Steph here from Crafting in the Rain. She is SUCH an inspiration to me! Here are a couple of projects I super love from her blog:
Baptism Towel

Train Pallet Art

Zebra Stripe Purse

And she's here today to share a tutorial for an ironing board cover! I'll let her take it away!
*****************************

1. Remove old cover
2. Remove cord (mine was not stretchy at all)
3. Find a fabric you like (I needed 1 and 2/3 yards--you need to measure end to end of your ironing board and add several inches)
4. Lay the old cover on top of your new (washed and dryed) fabric and pin it down. It probably won't lay down nice and flat because it's been all stretched out over the ironing board--just do your best.
5. Cut out your new cover following the old fabric, but cut it out a little larger on all sides. (I didn't do this on the bottom edge, and I wished I did!)
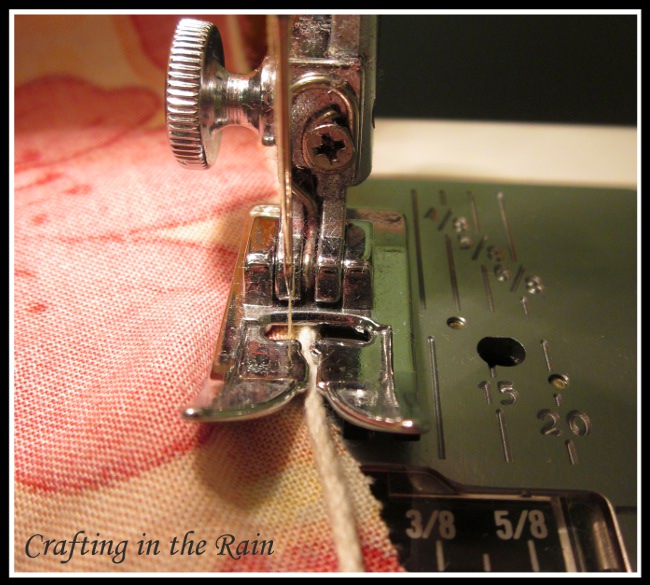
6. Lay the cording down on the edge of the fabric and start stitching over it. (Don't actually stitch the cord--you want the needle passing over the cord on both sides so that it can slide freely later) A regular zigzag stitch was too tight, so I used this one and it worked great.

7. I had to pull my cord through a few times while I was sewing, because it wasn't long enough to make the whole perimeter of the piece.
8. When it's all been stitched, lay it out on the ironing board (with the padding underneath it) and by pulling on the cord, tighten up the fabric under the top/front end of the board. The fabric will gather and get tight.

9. Stretch the fabric of the bottom/end of the board and do the same. You want the fabric to be gathered underneath the lip of the board, especially around any curved parts, and this will keep it pulled tight over the board.
10. Secure the ends of the cord. When everything is nice and tight, tie off or pinch (mine had this little metal clip already) the ends so that they aren't pulled back up in the the cover, making it loose.

11. Admire your new board, and possibly even be inspired to iron something!
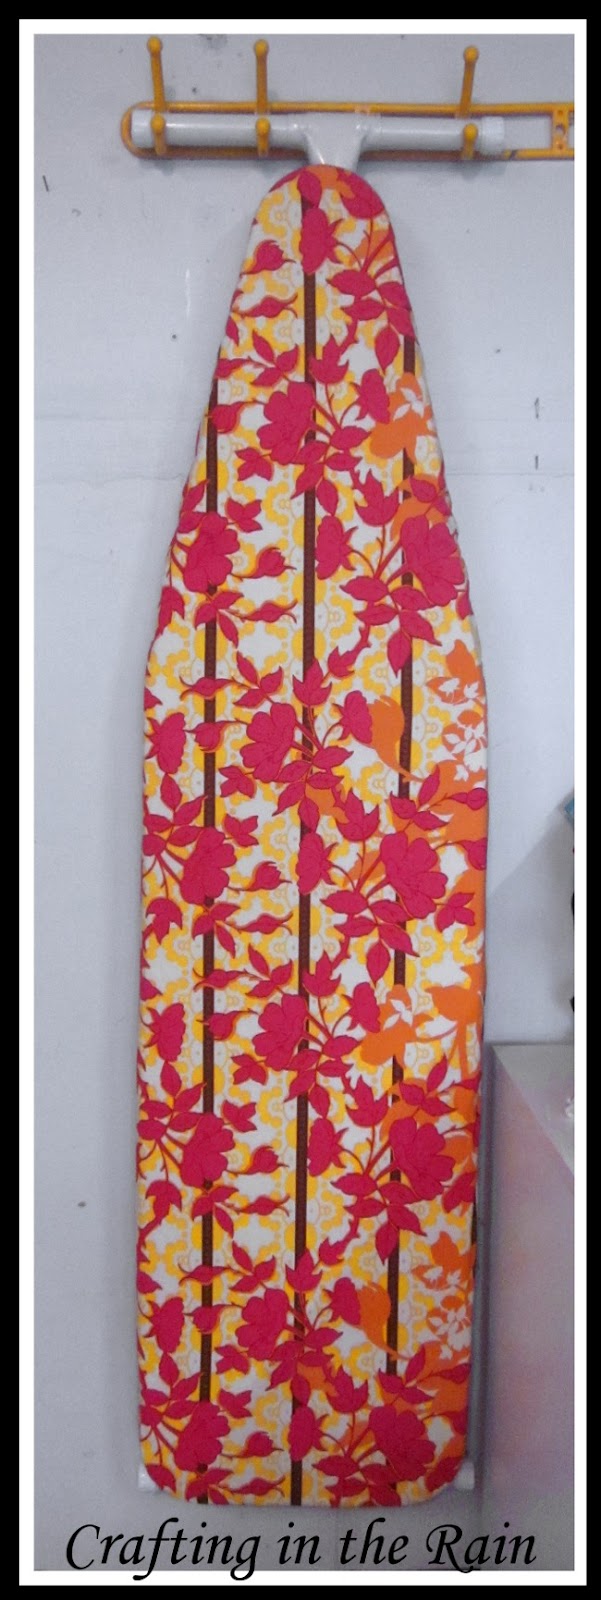
Hope you found this helpful. If you end up recovering your board too, be sure to let me know--I'd love to see it!


Love it!! :D That fabric is delicious!
ReplyDeleteI haven't even thought of recovering mime!
ReplyDeleteMy ironing board definitely needs a facelift and it looks super easy!
Thanks for the awesome tute!