Image Map

Tuesday, May 12, 2015

Giraffe Rattles

I feel so on top of things! I made presents MONTHS in advance!!


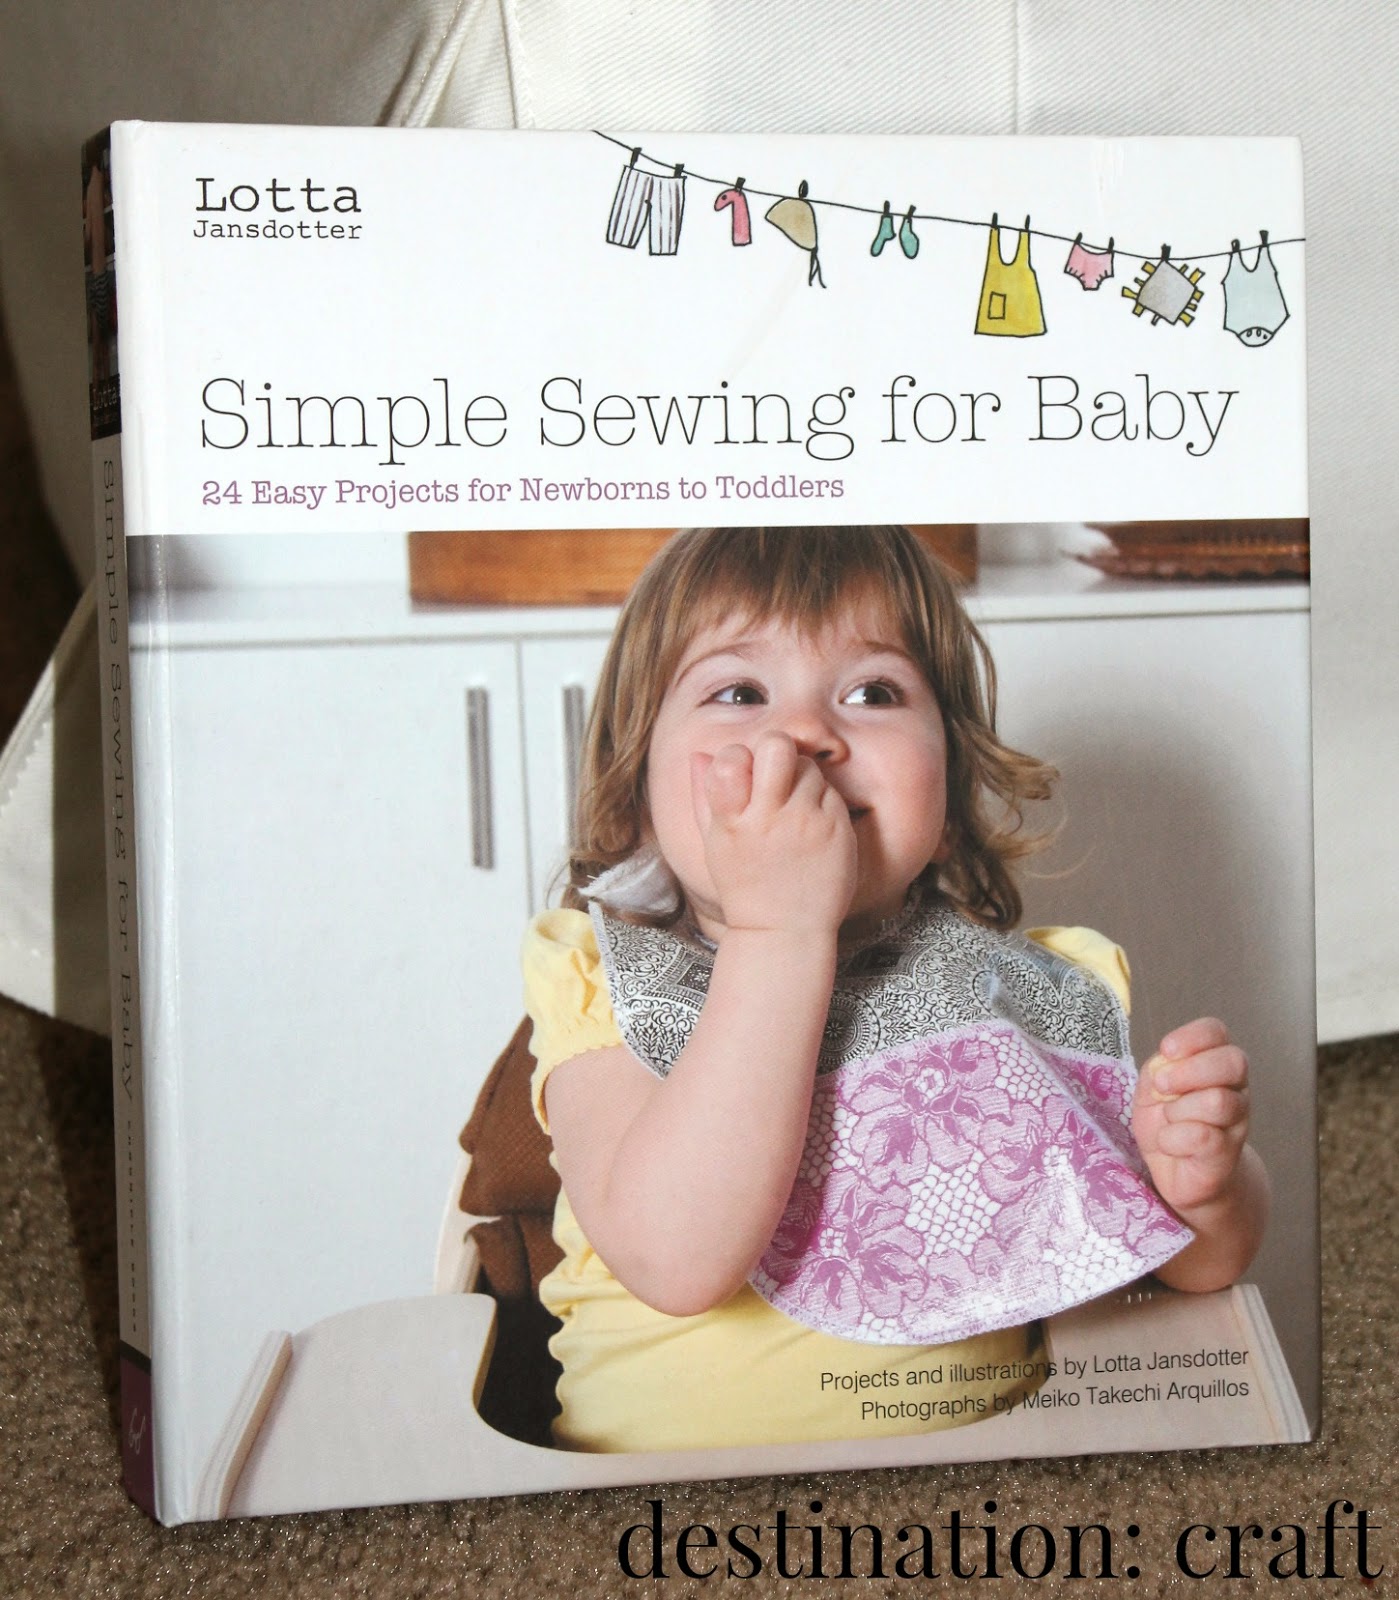
I have had this book for probably 3-4 years now and I have NEVER used it! It's horrible, I know. Every now and then I would thumb through it and look at all the pretty projects but I never actually made anything. 


I have FOUR babies coming to the family this year so I decided to make some of the giraffe rattles found in this book as some presents. I think they came out adorable. And my son approves of them, too! This book has so many cute ideas and it comes with instructions and patterns. I love it, I would definitely recommend the book to anyone wanting to make some baby projects.


Yay for babies!


Friday, March 20, 2015

Simple Princess Skirt


My daughter is SO girly! I wanted to make her a cute skirt for her birthday and when I saw this princess fabric, I knew she'd love it...and she did! Not only does she like princesses but she loves skirts and tutus. I knew this would be a win-win combo: princess fabric + skirt.

I loved the tutorial I found on how to make a basic skirt. It's from Made and it's a really easy tutorial to follow. Find it HERE. One thing I have to say is that if you don't have a serger, you HAVE to read the first comment on the post for the tip someone gives. It made my skirt look much better. 


Also, the overlay fabric I used was a leeeetle expensive but with a 40% off coupon from Joann's it was very affordable. She looks adorable in her little princess skirt!

Seriously, go try out that tutorial, if not for a daughter, you could even make one for yourself!


Thursday, March 12, 2015

Art Birthday Party (on a budget!)

I mentioned in an early post that my husband and I were doing the Dave Ramsey finance program, so this year we wanted to keep the birthday parties simple and on budget (I've struggled with that in the past).


My daughter wanted to paint for her birthday so I decided to throw a little art party for her and her friends. And even though I didn't spend lots of money or honestly even tons of time on it, they still had SO MUCH fun! Here are the invitations I made:


Super simple, made from construction paper you can get from Wal-Mart or Target. Since invitations get tossed as soon as the event is over, there's no reason to go too crazy on it.

The set up was pretty simple as well. The thing that took the longest was the rainbow chain link I made. I just used scrapbook paper I already had. Then I covered my table in the paper that comes in our art easel in case of paint accidents or in case the girls wanted to draw on the table.


The little chalkboard easels I got a long time ago and I've been waiting to use them! So glad I did! And those itsy bitsy easels and canvases I got from Wal-Mart for $0.97 each. They are so cute and little!


We did 3 activites with one game thrown in there. 


Our first activity was painting those little canvases. They were the perfect size for those little hands. The only problem I had was the paint pots. I bought them at the dollar store and they were mostly dry when we opened them! Not cool, Dollar Tree. We made it work.


Second activity was stringing Fruit Loops onto a piece of yarn to make necklaces. They really liked doing this but only 2 of them (out of 4) wanted to actually wear the necklace afterward. They really enjoyed eating the cereal as they went :)


The third and by far favorite activity was cookie decorating. I made sugar cookies into squares to look more like an art canvas and made rainbow frostings. I also provided them with marshmallows, sprinkles, and pink Sixlets to decorate their little cookie art works. They loved this so much!


The game we played was Pin the Color on the Art Palatte. They weren't very excited about this game. Well, my daughter liked it but the other girls did it once and were over it. But my daughter did it several times and thought it was lots of fun!


Lastly, I made a cookie cake that I tried to make look like an art palatte. It turned out pretty cute and my kids like cookie cakes a lot better than traditional cake. I just used the Pillsbury Funfetti mix to make the cookie cake.


And that's it! I probably spent about $30 total for this party but honestly I had most of the stuff I used and I bet you have all the stuff, too! Let me know if you do an art party, I'd love to check it out!


Wednesday, February 18, 2015

Slow Cooker Creamy Tortellini, Spinach and Chicken Soup

Guys, I have such a treat for you today! I have my food contributor Kellee here doing a guest post! It's been a while (since I took last year off) and I'm so excited she's back! She has a delicious looking recipe for you to try out...and in the crock pot no less! Easy and delicious!
**************************


Hello friends!
My name is Kellee and my BFF Kathryn has invited me to share a food post today and you all are in fo a treat yo!
On Sunday I made this soup.  Let us all take a moment of silence in gratitude for the mad scientist chef from 365 Days of Slow Cooking who created this master piece. 
Okay, enough silence.  Let's get chattin' about this recipe!
I am always nervous and excited to try a new recipe.  Will it join the binder with the other holy grail recipes I have discovered or will it be thrown in the recycling bin with me pouting bitterly around the house because I spent $15 on a recipe that "didn't turn out good"? 
I am so happy this turned out wonderful! If you love pasta and tomato soup then you and this recipe are a match made in heaven.
Enjoy and happy cooking, chefs!
Slow Cooker Recipe for Creamy Tortellini, Spinach and Chicken Soup
Recipe slightly adapted from 365 Days of Slow Cooking
Makes 6-8 servings
1 yellow onion, diced
1/3 c. flour
1 Tbsp dried basil
2 cloves garlic, minced (I used about 2 tsp of the jarred stuff and it was yum)
2-3 Tbsp tomato paste (depending on how much of a tomato flavor your heart desires)
3 Tbsp olive oil
4 c. chicken broth
2 (14.5 oz) cans petite diced tomatoes
1-2 small boneless, skinless chicken breasts
1 tsp salt
1/2 tsp pepper
4 c. frozen cheese tortellini
3 c. packed spinach (next time I would DEFINITELY chop up the spinach.  It was hard to eat whole.)
1/2 c. grated parmesan cheese
1 c. heavy cream or half and half
In microwave safe bowl add onions, flour, basil, garlic, and tomato paste.  Drizzle with olive oil.  Microwave 4 1/2 minutes, stirring every 90 seconds.  The mixture may look a little lumpy and weird.  That's what we want! Add this to the slow cooker.
Add broth, tomatoes, chicken, salt and pepper to slow cooker.  Stir.  Cover and cook on low 4-6 hours or on high 3-4 hours (or until chicken is fully cooked and tender).
Add tortellini, spinach, parmesan cheese and warmed cream (I microwaved my half and half for 50 seconds or so.  If you don't warm before you add this in it could curdle!). 
Take chicken out and shred (I shred my chicken using a hand mixer.  It's AWESOME!!! You get it finally shredded and takes all of 10 seconds to do).  Add chicken back into the slow cooker.  Cook on high another 10-15 minutes or until the tortellini are fully cooked.  
Ladle into bowls.  You will need to definitely salt and pepper your own individual servings as it is a little bland without it.  This also may have been caused because I used the low sodium chicken broth.  But once you add the salt and pepper? BAM! Makes all the difference.  We served ours with extra shredded parmesan cheese which was delicious.


Wednesday, February 11, 2015

Teacher Valentine's Gift

My oldest kid is in kindergarten so I'm new to the whole teacher-parent relationship. I gave his teacher & the teacher's assistant a Christmas gift so I thought why not get them a Valentine's gift? Nothing big or crazy but I think showing them sometimes that you appreciate them is a nice gesture. 


I was at Target the other day and came across these adorable vintage-looking milk glasses. I also grabbed some chalkboard paint while I was there and hatched my plan for these teacher gifts. These don't require a lot of effort or a lot of time, really. I think they turned out really cute and I'll show you how I made them!

First, I taped off a section of the bottles to paint. 


According to the directions, you're supposed to apply a coat, then wait an hour and apply another coat. Then you're supposed to let the paint cure for 24 hours. Then you're supposed to cover the chalkboard part in chalk to prep it, wipe it down, and you're good to go!


Also, you can buy chalkboard pens at any craft store and I grabbed some while at Target. I realized, however, that the pens I bought were permanent. I had never heard of permanent chalkboard pens! So if you do this craft, look for non-permanent pens, in case of mistakes.

Fill up the jars with yummy candy and decorate with any other embellishments and you're good to go! These would make cute gifts for anyone, they don't have to be just for teachers. 


Happy crafting!


Thursday, February 5, 2015

Saving and Spending Jars for Kids

Have you heard of Dave Ramsey? He's basically a Christian financial guru. He has this program called Financial Peace University. You learn how to manage money, pay off debts, save, buy a house, etc., in his program and I'm currently enrolled. It's amazing! 

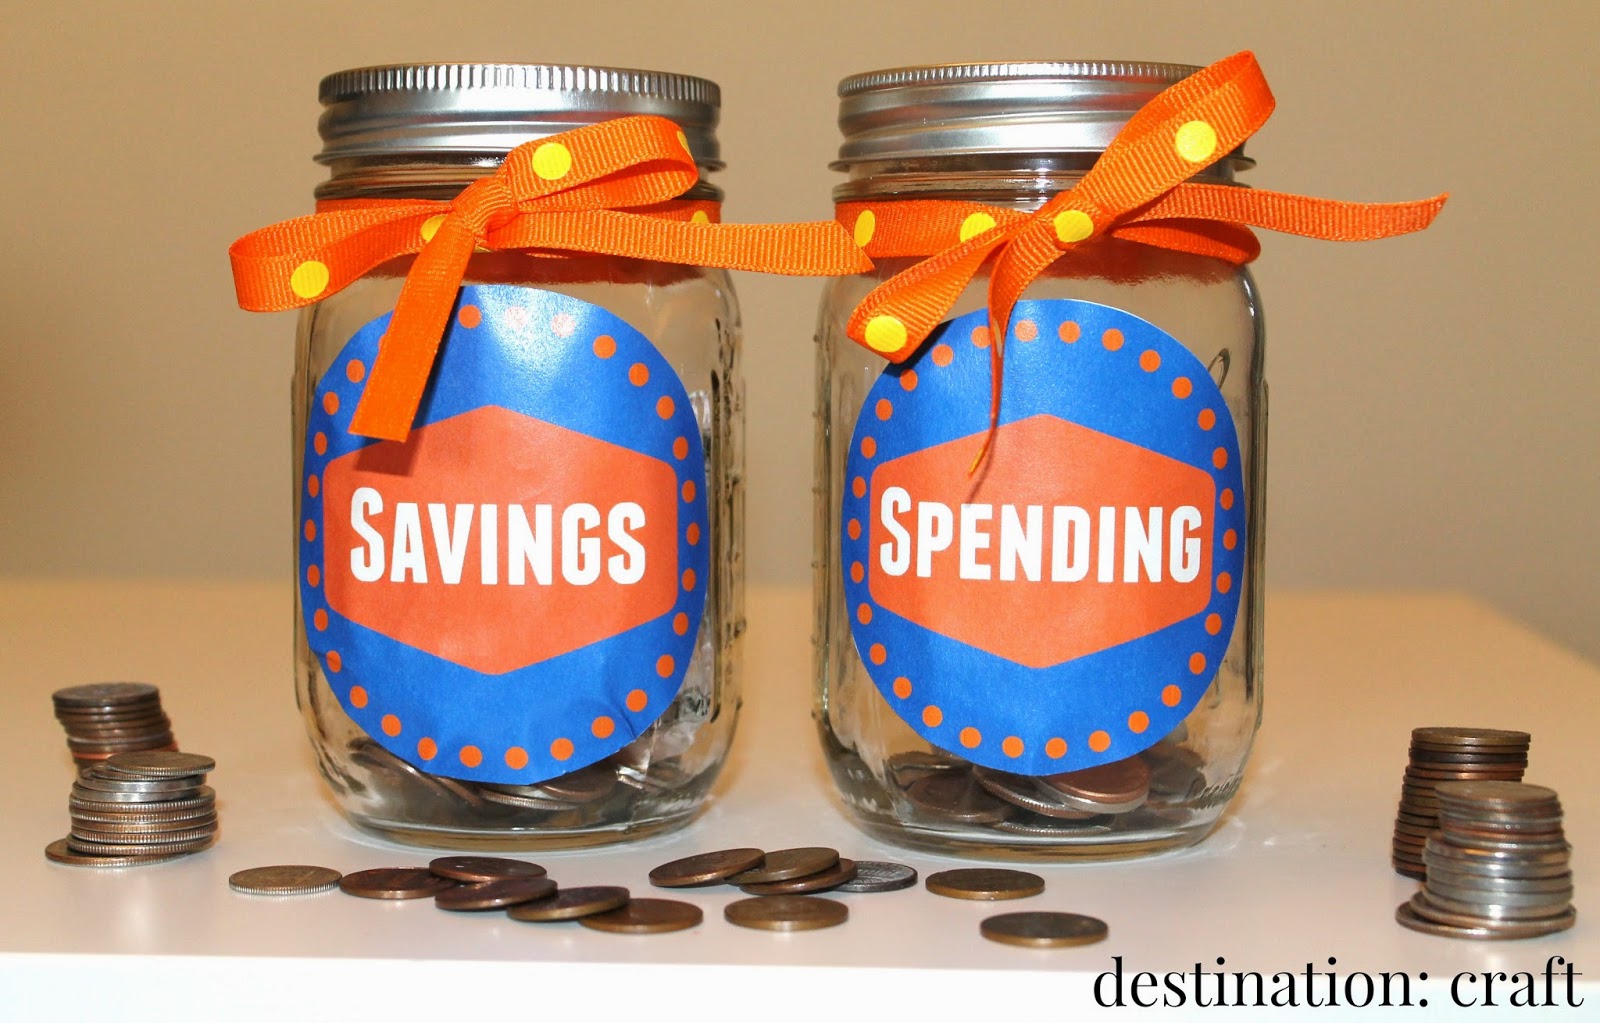
During the second lesson he talked about the importance of teaching your kids about money. Because really kids learn by example for everything. They just need good examples to follow. He suggests making money jars for your kids that are see-through so that the kids can see their money accumulating/leaving. 


He recommends having 3 jars: Saving, Spending, and Giving. I opted not to do a giving jar though because I don't want that money sitting around--it goes straight to our church as a donation. Now my kids can see the money they are saving and the money they have to spend!

I made the labels with PicMonkey and then used my handy dandy Create-A-Sticker to make them adhere. I LOVE this little machine, except it's not a machine because there is NO plug. Seriously, love it.


Then I made a Savings and a Spending jar for each of my older kids. Maybe by the time they're 10 they'll have saved up enough for college! HA! A girl can dream.


Now my next project will be a chore chart so they can start earning the money they put in their jars. Excuse me while I go peruse Pinterest...


Happy crafting and saving!


Thursday, January 29, 2015

XOXO Garland

I  know it's not even February yet but once it is February, I have a birthday to be thinking about and won't be thinking a lot about Valentine's day. SO I decided I would spruce up my mantel now because if I don't do it now it wouldn't get done.


I made this garland and it was SO.EASY. Srsly. I cut out most of the XOs while watching TV (Fixer Upper anyone?) and the hearts were super quick. Then I just zipped them through the sewing machine and I was done! Easy, right?


(And really? Look at how disgusting my fireplace looks. I should really do something about that.)


I would like my mantel to be way cute but this is probably about the extent of it. HOWEVER....I got looking for some other cute Valentine mantels and HOLY cow! There are some adorable ones! If you need some inspiration...here ya go:


Linked here: Seven Alive, Serenity Now, Kitchen Fun with my 3 Sons